My brother-in-law is a no nonsense kind of guy. If there is a task to be done he likes to do it quickly and immediately. This is what I noticed when I talked to first my sister, then her husband.
Sister to sister, when I'm asking Sherry for a favor I'll launch into a whole long 15 minute explanation to her of the who, what, why, when and where. I found two gorgeous whole four pound 'Ahi at the Kailua Farmer's Market and I'm not that ma'a (familiar) with cleaning and filleting fish that size. Give me a smaller red fish, 'Aweoweo or Menpachi, no problem, but, a larger 'Ahi or Aku, and I get a bit worried. After some internal hemming and hawing and even walking back to the car I told myself to turn around and go back. Just buy the fish already, because I can't go on being forever intimidated by cutting up whole fish.
I reasoned if I tackled this task of cleaning and filleting by myself, using a cookbook, it would take me an hour or two and I would be left with something that looks mangled and like fishcake. On the other hand, if he was willing and I was able to watch my brother-in-law, Nathan, a lifelong fisherman, I would pick up all those expert tips and great shortcuts that would simplify the whole process. And, I know he would create perfect matching 'Ahi fillets.
Right after talking with my sis about asking her husband to teach me to clean the fish I called her husband on his cell phone. That conversation lasted 15 seconds.
Me-"Hey, Nathan, can you show me how to clean 'Ahi? I have two, gonna give you guys one."
Nathan-"Nah, no need, no need. It's on ice, yeah? Come after lunch"
Me-"(slightly offended) Of course it's on ice. (cheerfully) OK, I'll be there."
I showed up with an apron, a camera, ziplocs and the cooler full of ice and the fish. Nathan sharpened two knives, a smaller one for the detail work and a larger one to chop the bones. We went outside their home to a sink that was made especially for fish cleaning. They also have an outside wok so all those smells and smoke don't linger in the house.
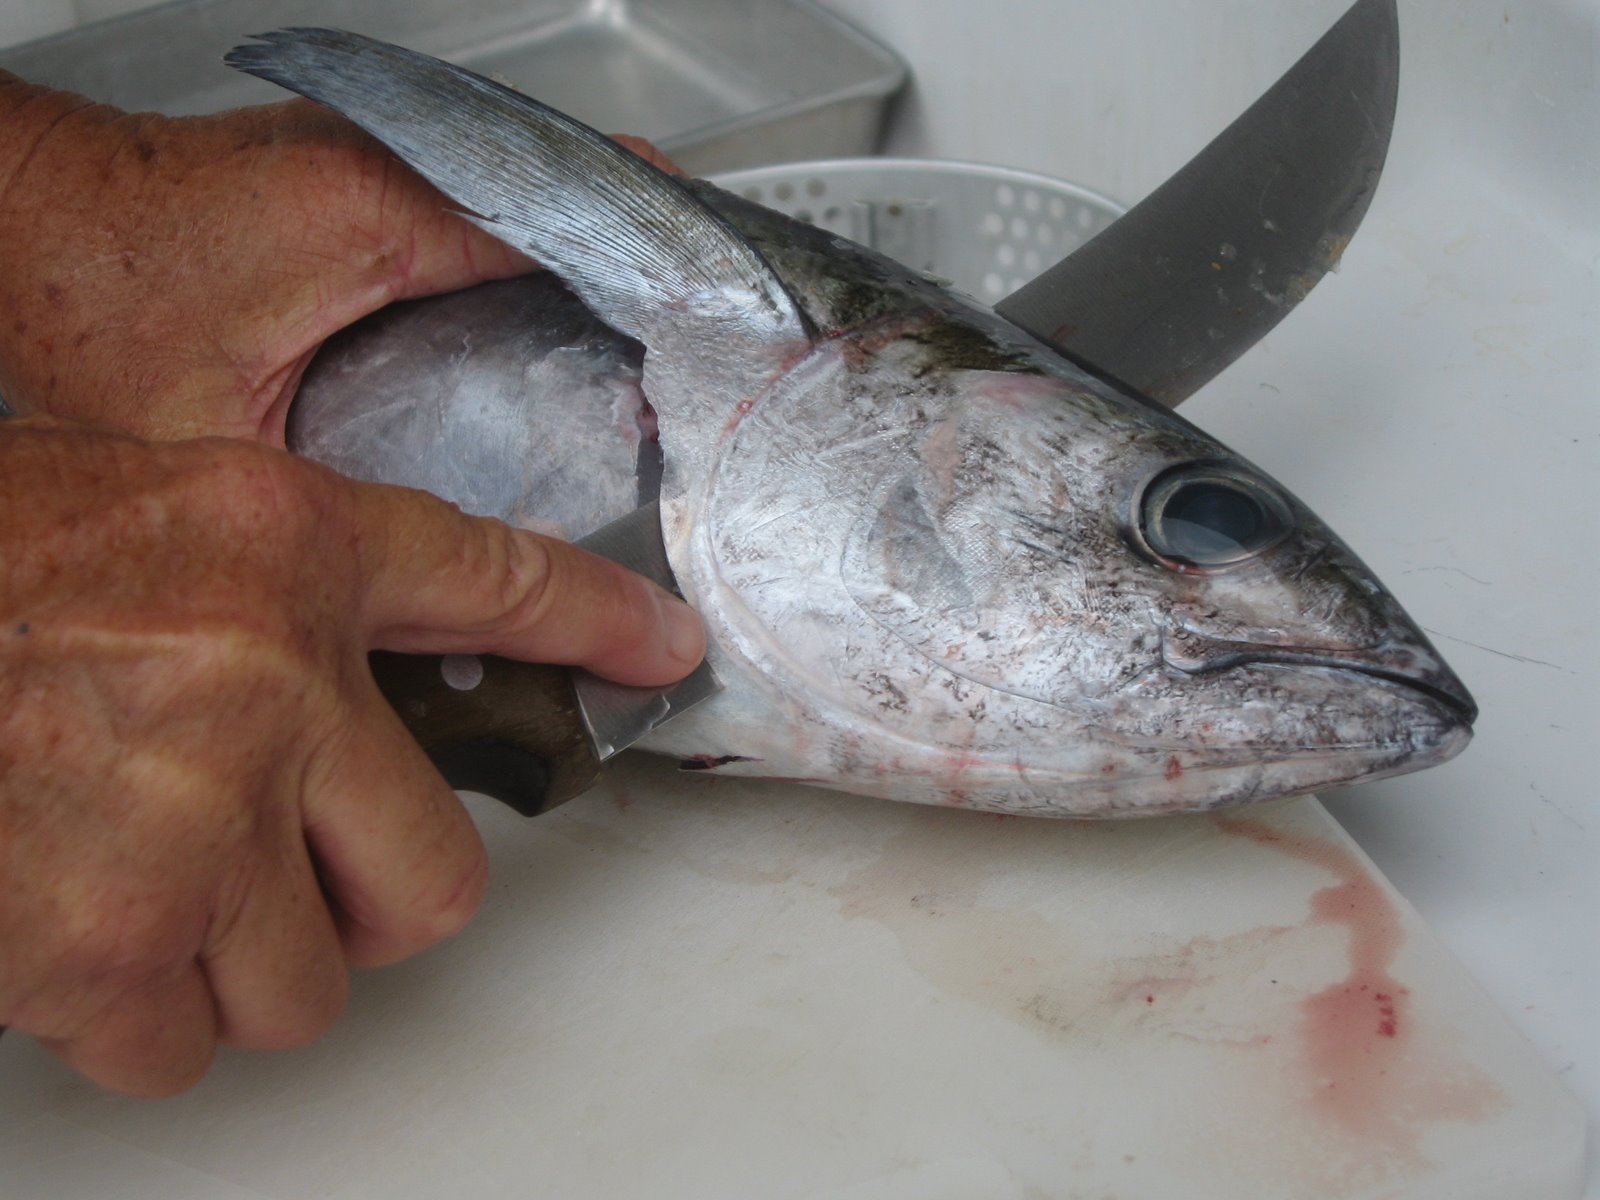
A disclaimer here, I'm not using the technically correct terms for parts and bones of the fish. Nathan expertly sliced the side fin off starting two inches behind the side fin, working in the direction from the tail to the head and also taking with it what he called the fish armor. This armor is a two-inch in diameter configuration of cartilage. Then, he came up to the vent in the head and snapped the spinal bone with a blow using the larger knife. He discarded the head, guts, gills and any soft red matter.
Nathan sliced the back bone horizontally off, again working tail to head, taking off more fish armor in the process. He took off that sharp, small, pointy back fin (careful, I've been poked by these fins before and it isn't pretty). Some people like the darker red blood meat strips next to the pinker flesh but many find it too gamy so you can cut that off as well, he said.
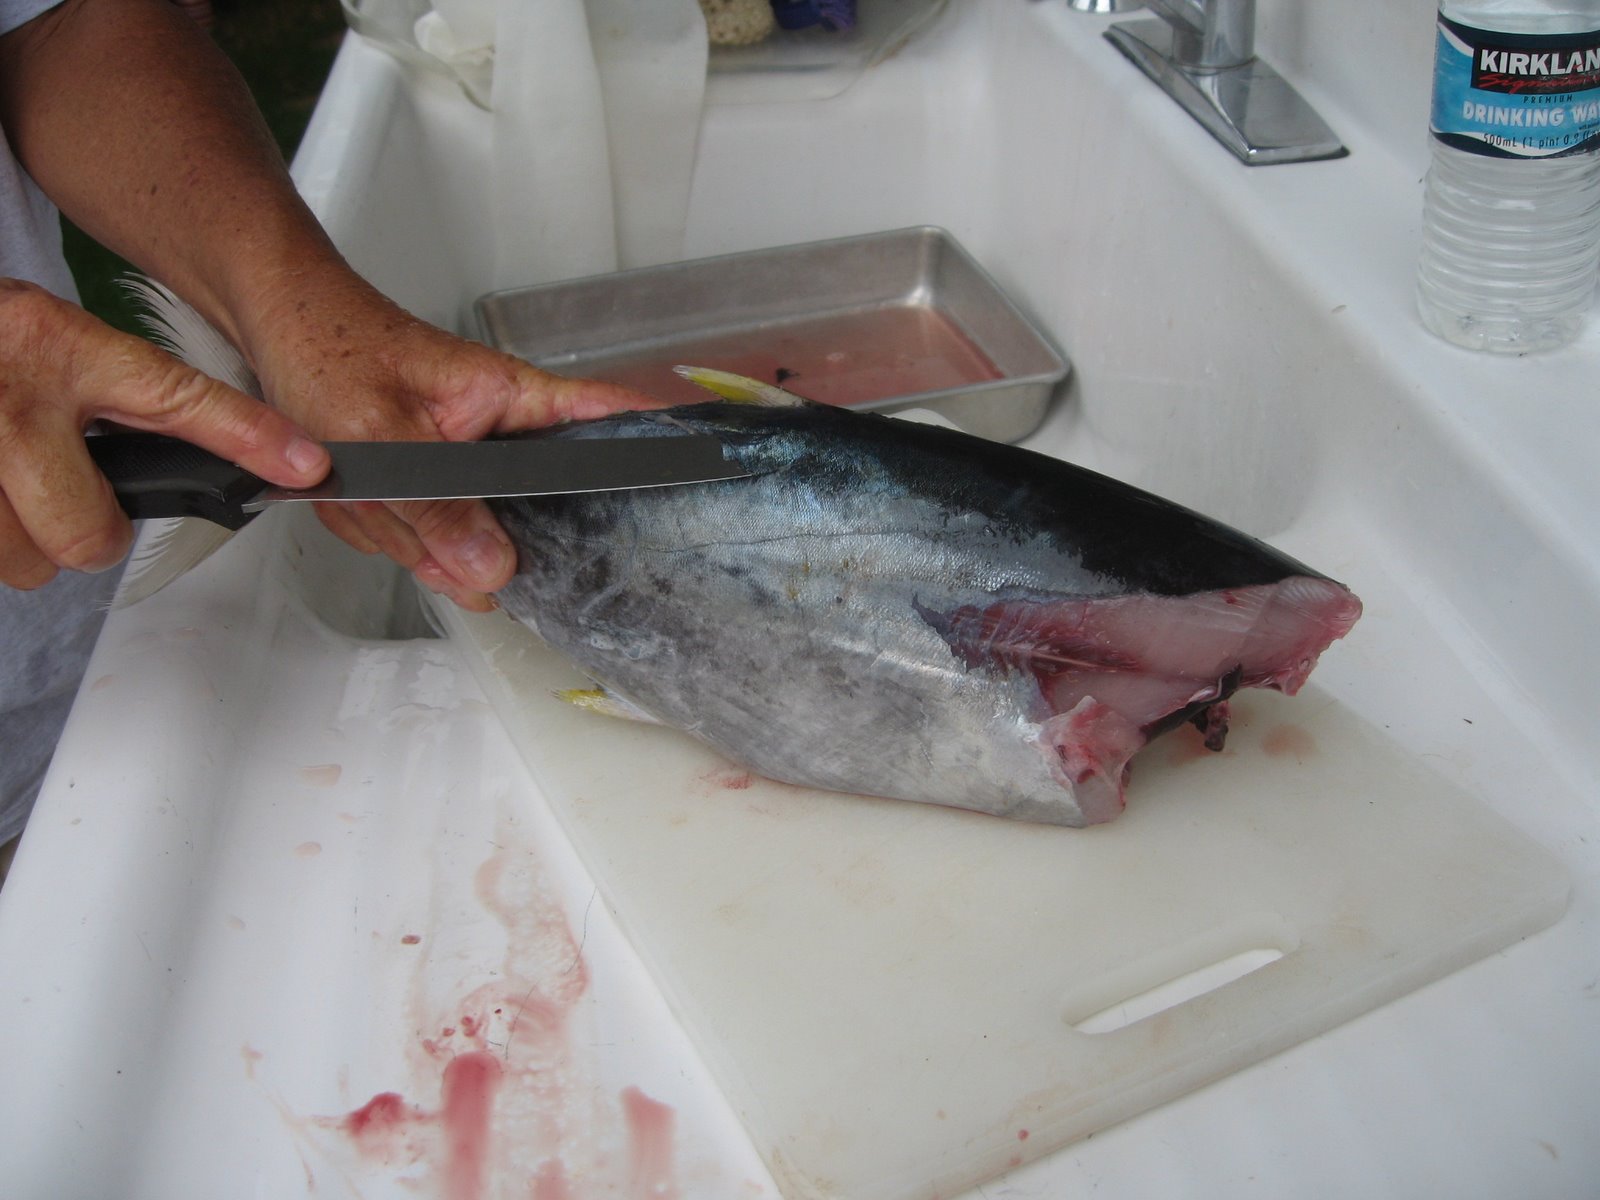
Nathan slit off the bottom belly fin, again horizontally, slit open the belly and removed the guts from the stomach cavity. He cut the bottommost belly portion off from the rest of the fish. He cautioned me to cut off the greenish one-inch by four-inch bile portion with a scissors later. Nathan said that 'ahi belly is a delicacy and to always fry it, dredging in seasoned flour first.
Nathan made a small cut just above the bone that runs down the middle of the fish, right past the tail and inserted the index finger of his left hand as a convenient handle to grip the fish (Excellent tip! See photo on left). With his smaller knife in his right hand, he skimmed over the middle fish bones and created tension by holding the tail portion with his left finger. Nathan cut the fish in half horizontally. He flipped the fish over, created another handle for his finger to hold and cut the second fillet off the middle bones the same way. He continued to pull off pieces of red matter as he went along. It was only at this point that he chopped the tail off.
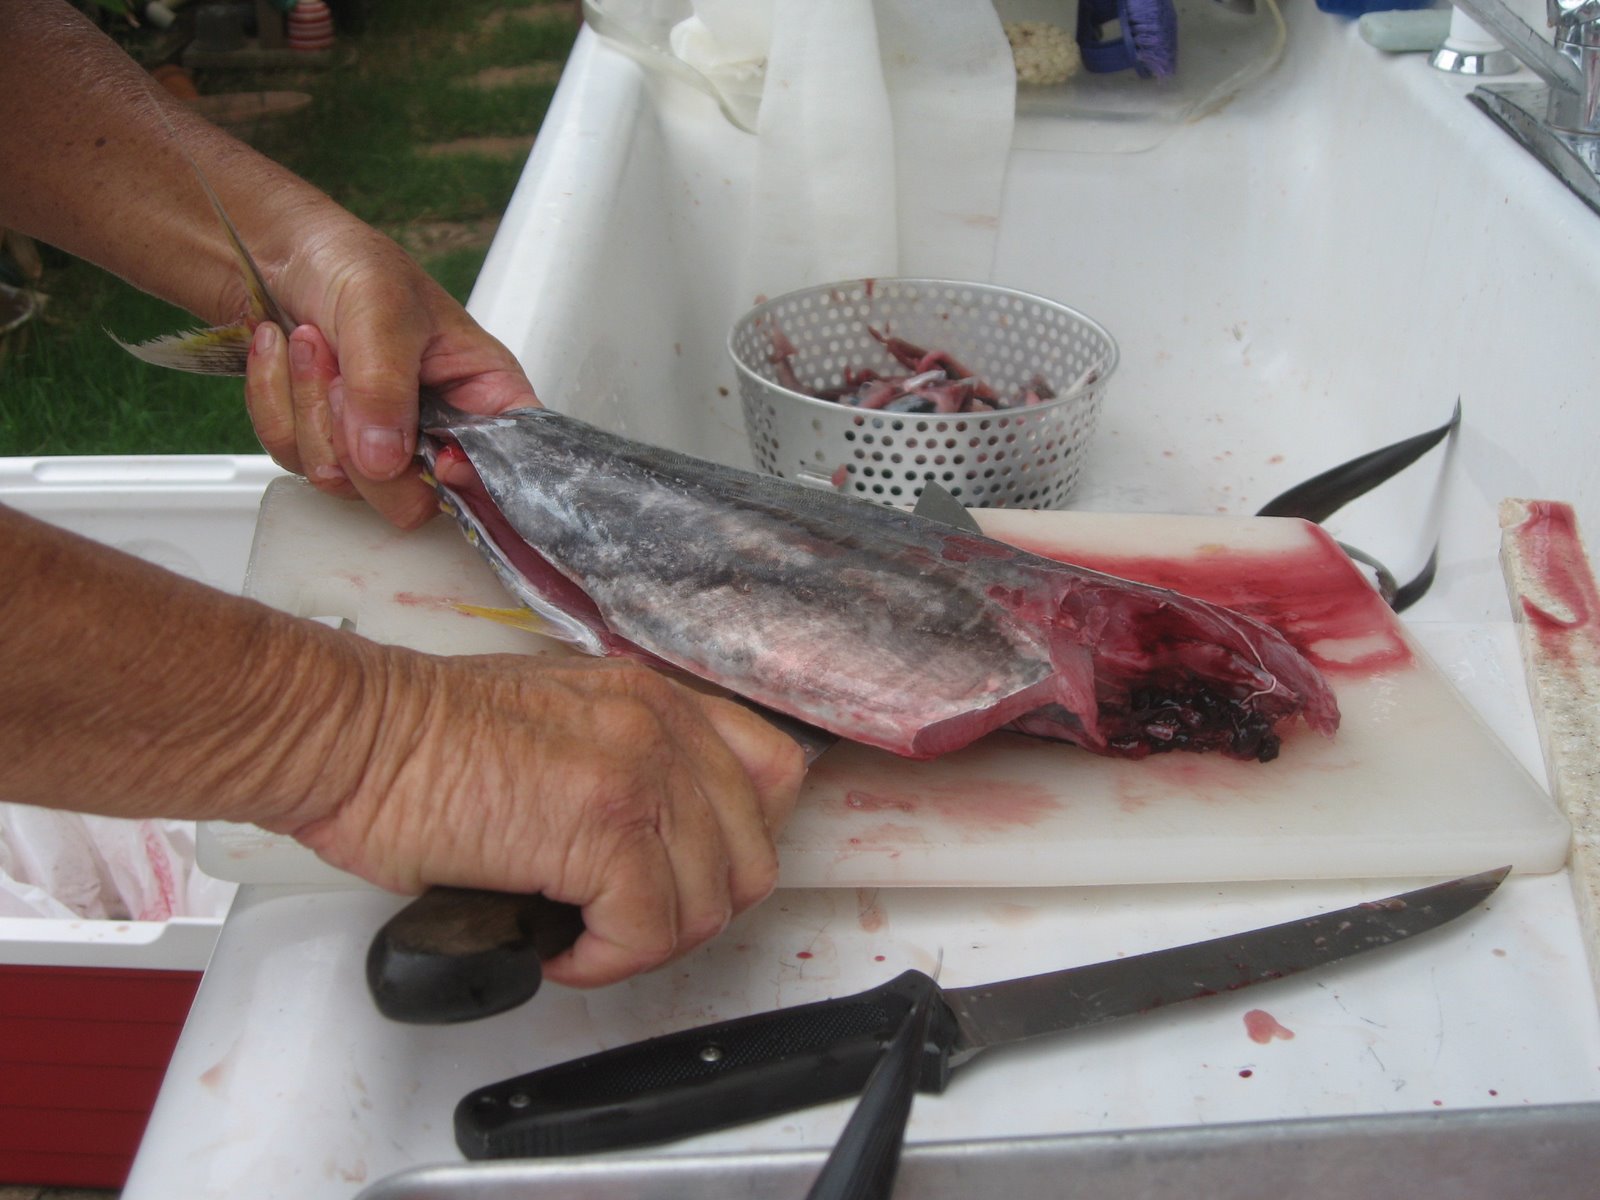
Nathan used his very sharp smaller knife to skim the fillet off the skin. He placed the fillet with the skin side down and he skimmed over the skin separating the skin from the flesh. He very skillfully took the skins off both fillets in almost one intact piece, no easy feat. Discard the skin, the head, the red matter, the guts, the gills and the blood meat. Keep the bones and the tail for the recipe below.
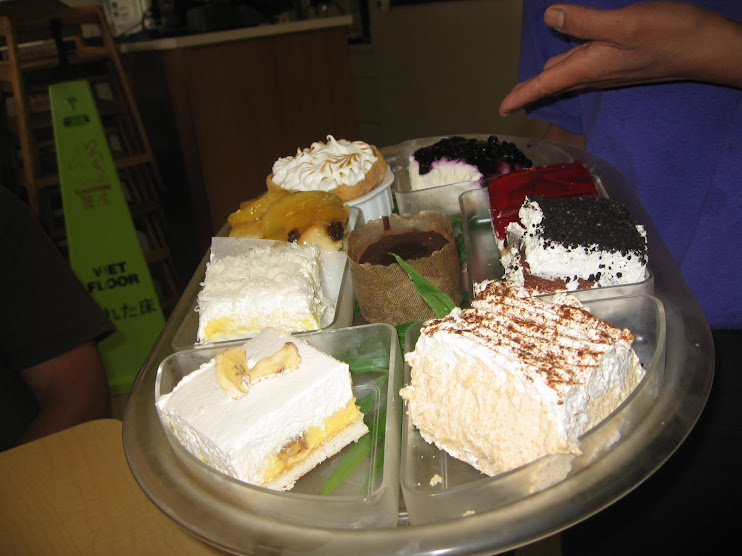
I thanked him profusely and kept the bones for the very best miso soup imaginable. My mind has been happily conjuring up images of what to do with these gorgeous, super fresh fillets. 'Ahi sashimi with hot mustard-soy or ginger-sesame oil-soy sauces? 'Ahi poke? Fried 'Ahi steaks sizzling in butter, salt and pepper? Jessie Kiyabu's super fried 'Ahi cakes? This makes me happy. Even though Nathan did all the cutting in a flash, 15 min. max per fish, I felt that with my photos, my memory and his super tips, I could confidently tackle my next whole fish by myself.
Easy 'Ahi Bone Miso Soup
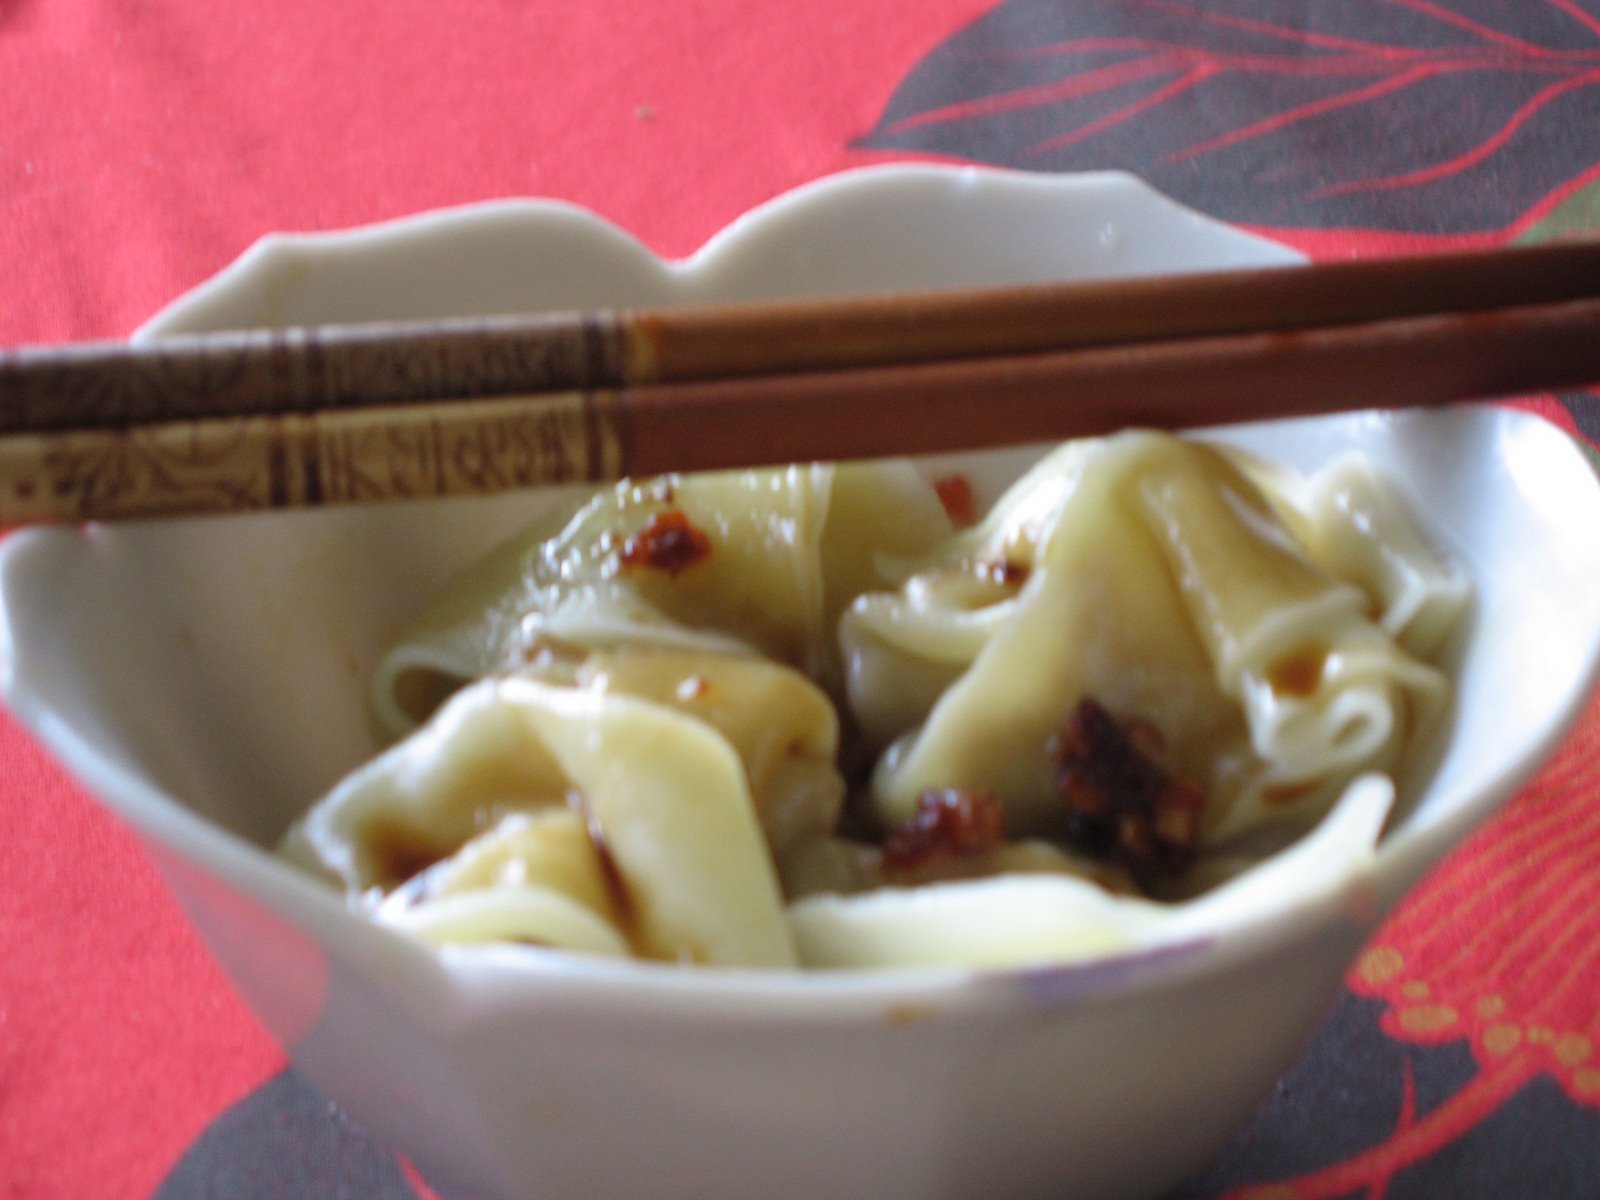
Bring the 'ahi bones, a couple of dried shrimp (ama ebi) and 4 cups of water to a boil. Turn down to a high simmer and skim off scum occasionally. Simmer for 30 minutes. Take out and discard the bones and ama ebi. Strain the broth through two layers of cheesecloth over a colander to get rid of extra scum. In a bowl, using a wire whisk, whisk 1 cup of miso with 1 cup of water until the miso is dissolved. Pour into the 'ahi broth. Turn to Med-High but do not boil. Serve immediately with shredded and cooked 'Ahi or chicken, small cubes of tofu and chopped green onions.
Thursday, May 22, 2008
Friday, May 16, 2008
Island Plate II
Two weeks ago I was blessed to be involved in the photo shoot for Wanda Adams' third cookbook, tentatively titled "Island Plate II". It's a follow up to her bestselling "Island Plate" which commemorated the Honolulu Advertiser's 150th Anniversary. Wanda has this amazing ability to look at a recipe and to be able to tell if it's going to be one winnah.... or not.
We were a close knit but diverse team of food and design people. I loved hearing the almost foreign languages in the SubZero kitchens. Romeo would say "Close to onion" and Iwa, Brian and Scott would know exactly what he was talking about. That means something like the shot has to be tighter for the onion but who knows? Wanda and I would talk about blanching, then "shocking" the baby bok choy.
There were a couple of dishes, like this pancake recipe, that required split second timing. It must have looked hilarious to see our choreography. I was stationed at the oven window and intoned the minutes like the Iron Chef announcer until the pancake was ready. As soon as it puffed to its fullest I whisked it to the stainless steel table which had already been tested for lighting. Iwa plopped on raspberries. Wanda dusted it with a flurry of powdered sugar, then one last dollop of whipping cream and we all stepped back for the rapid fire photographs.
I cannot divulge any recipes from the cookbook except the following David Eyre's Pancake which is a version of Dutch Babies. It can be found all over the Internet.
David Eyre was the founding editor of Honolulu magazine who played host to the NY Times' Craig Claiborne in the 60's. David served Craig this pancake and Craig wrote a story about it. The story goes that when Craig retired he was asked which was his most requested recipe during his long and illustrious tenure as food editor and Craig said, hands down, it was this one.
David Eyre’s Pancakes
w/revisions by MC
One-half cup flour
One-half cup milk
2 large eggs, lightly beaten
One-half teaspoon nutmeg (do not leave this out)
4 Tablespoons butter (this is one-half a block)
2 Tablespoons confectioner’s sugar (measure, then sift)
Juice of one quarter of a lemon, remove seeds
Make the batter just before baking, do not make ahead. Have everything ready before you begin. Do not do any steps ahead of time.
Preheat oven to 425 degrees.
In a mixing bowl, combine flour, milk, eggs and nutmeg.
Beat until well mixed but never mind a few lumps in the batter.
Melt butter in an 11 inch oven safe aluminum or other metal (not nonstick) skillet, in the oven. An 8 x 8” square or 8" round metal pan will work equally well. Leave the pan in the oven to heat. (Do not melt the butter first and pour into the pan.)
Take the pan out of the oven. Carefully and slowly pour in batter into the middle of the hot pan that has the melted butter. Bake in a 425 degree oven approximately 20 minutes or until pancake puffs and turns golden brown. Sprinkle generously with the powdered sugar and the lemon juice, over all. Return briefly to the oven for 30 seconds so that sugar and lemon juice can amalgamate.
Makes 2-4 servings.
Can top with stabilized whipped cream and fruit: raspberries, strawberries, blackberries, bananas, sliced pineapple with macnuts. Or you can leave out the sugar and lemon juice and make it savory with a cream sauce, like chicken or a shrimp curry.
Stabilized whipping cream: measure 1 cup of heavy cream. Whip until soft peaks form. Add 2 teaspoons of sugar and 1 tablespoon of sour cream or plain yogurt. Whip to stiff peaks.
Subscribe to:
Posts (Atom)